Warhammer Survivors: Complete Character Unlock Guide
 James Whitfield
4 min read
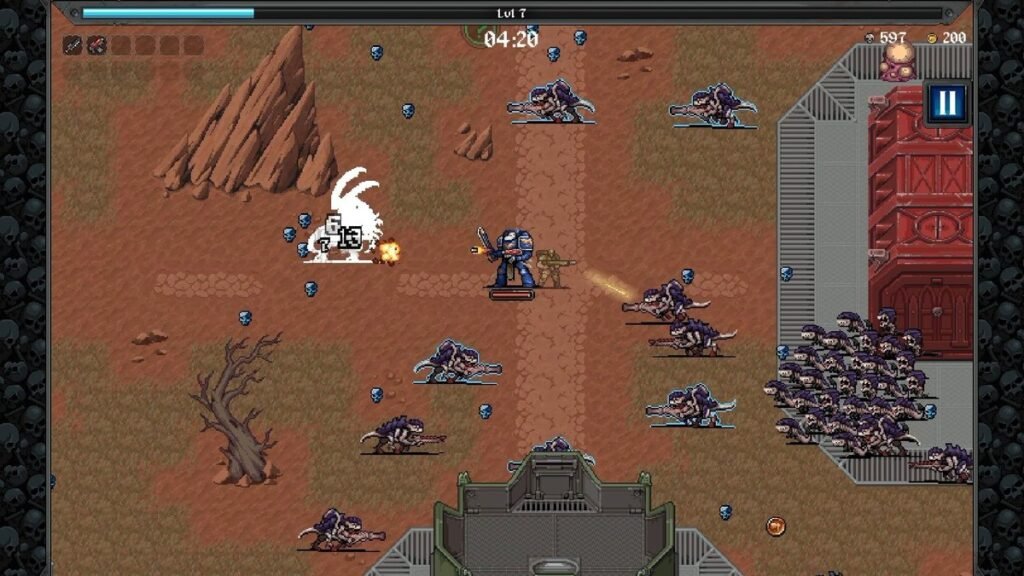
Warhammer Survivors presents players with a challenging roguelike experience featuring numerous unique champions, each offering distinct playstyles and weapon combinations to progress through different stages. Unlocking all available characters requires exploration, precise navigation, and strategic combat preparation. This comprehensive guide covers every character location across all stages and provides the tactics needed to rescue them.
Imperial Bastion: Starting Stage Characters
Imperial Bastion serves as the game's introductory stage and is immediately available. Two characters can be discovered here through careful exploration.
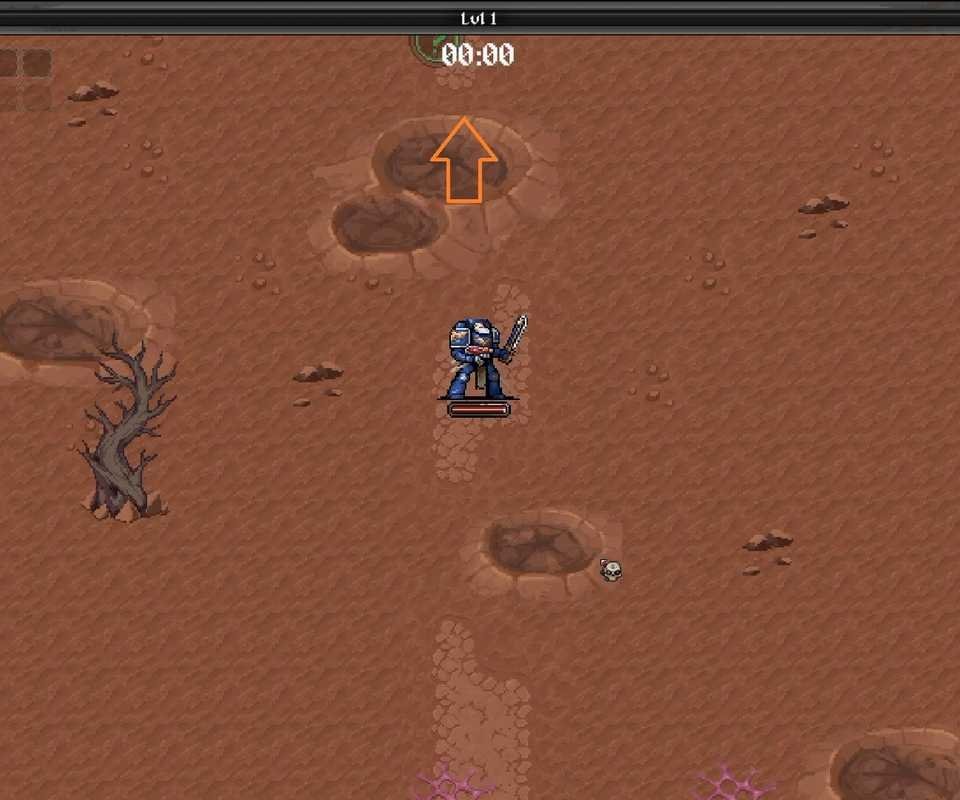
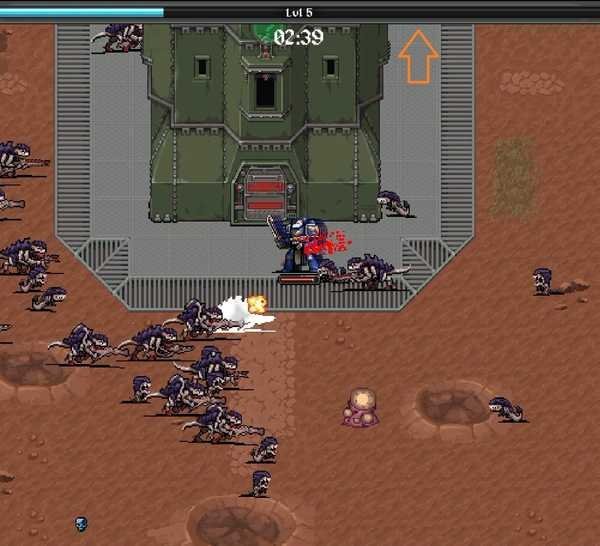
Trooper Bartosz Kozlowski occupies a relatively accessible location. Starting from your spawn point, head north past the first military structure until you reach a crossroads. The character will be surrounded by enemies marked with blue outlines. Defeating all highlighted foes triggers his recruitment, and he joins as a companion for the remainder of your run. Notably, any upgrades applied to your default weapon automatically extend to Bartosz's equipment as well.
The Legend of Catachan requires more deliberate navigation. Move exactly 5 grid squares to the right and 5 grid squares upward from your starting position. Upon arrival, you'll find this champion positioned to the left of a turret, defended by multiple mini-bosses. Defeating these tougher enemies completes the rescue. Players can use consistent item spawns like the Magnet as navigational landmarks to verify their path.
Gallowdark: The K9 Mastiff
Gallowdark features a single recruitable character: K9 Mastiff. Each run begins on a metal platform displaying two eagle icons. The map follows a repeating pattern with identical platforms at regular intervals. Simply proceed rightward, checking each eagle-emblazoned platform until you encounter the dog surrounded by six giant monsters.
Defeating these creatures presents a significant challenge. The Storm Eagle Rocket weapon proves most effective against them, so prioritize this option during level-up selections and upgrade it repeatedly. If this weapon doesn't appear, rely on pickup items such as Blast Templates or Promethium Canisters to deal sufficient damage.
Ork Stronghold: Commissar Sebastian Yarrick
Commissar Sebastian Yarrick occupies Ork Stronghold, equipped with a distinctive claw weapon effective for clearing dense enemy clusters. Navigate 4 grid squares left, then 4 grid squares up to reach an arena-like location in the southwestern corner of your target square.
Yarrick faces protection from six black-armored Meganobs. While not the highest-tier variants, these enemies require substantial firepower to defeat efficiently. Storm Eagle Rocket remains the optimal choice for rapid elimination. After recruitment, consider pairing Yarrick with a character capable of vertical damage output, since his claw weapon only strikes horizontally, creating better overall coverage for subsequent combat encounters.
Imperial Shipyard: Saint Celestine
Imperial Shipyard unlocks only after reaching Level 50 in Ork Stronghold. The stage features a multi-level structure requiring elevator navigation. From your starting position, move north and use the Level 1 elevator. On the next level, proceed slightly left to locate the Level 2 elevator. After ascending, travel right to find the Level 6 elevator.
On Level 6, move entirely rightward to discover Saint Celestine surrounded by the same six giant monsters encountered in Gallowdark. Storm Eagle Rocket remains the recommended weapon for swift rescue. Players who have unlocked the Banish and Reroll passive abilities will find it easier to obtain the rocket as a level-up option.
The Great Parch: Armand Callis and Hanniver Toll
The Great Parch contains two characters spread across different map locations. Armand Callis sits relatively close to the spawn point—move only one-fourth of a grid square left, then continue southward until you spot him. His location requires minimal navigation effort.
Hanniver Toll demands more extensive travel. From your starting position, move 3 grid squares left and 5 grid squares up. The character waits at the southwestern corner of the target square, surrounded by highlighted enemies. Eliminating these foes completes the recruitment.
Skrappa Spill: Gotrek Gurnisson
Skrappa Spill follows a similar exploration pattern to Gallowdark—continue rightward across the map until you encounter Gotrek Gurnisson defended by moderate-strength mini-bosses. Standard weapon upgrades to levels 4 or 5 provide sufficient damage output. However, this stage's narrow layout creates constant pressure from minions approaching from both sides. Equip weapons with strong crowd-control capabilities to manage the constant influx of enemies while focusing on the rescue target.
Bloodwind Spoil: Rostus Oxenhammer
Bloodwind Spoil presents a more compact rescue scenario. Travel north exactly 5 grid squares to locate Rostus Oxenhammer at the southwestern corner of your target square. The champion's position occupies limited space, similar to Skrappa Spill's constraints. Prepare crowd-control oriented weapons like Nebulous Sea-Fog, Tempest Axes, and Boltstorm Pistol, upgrading each to at least level 4 or 5 before attempting the rescue. This preparation ensures you can manage surrounding enemies effectively while securing the character.