
Transport Fever 3: Complete Guide to Assigning Workers to
 James Whitfield
3 min read
James Whitfield
3 min read
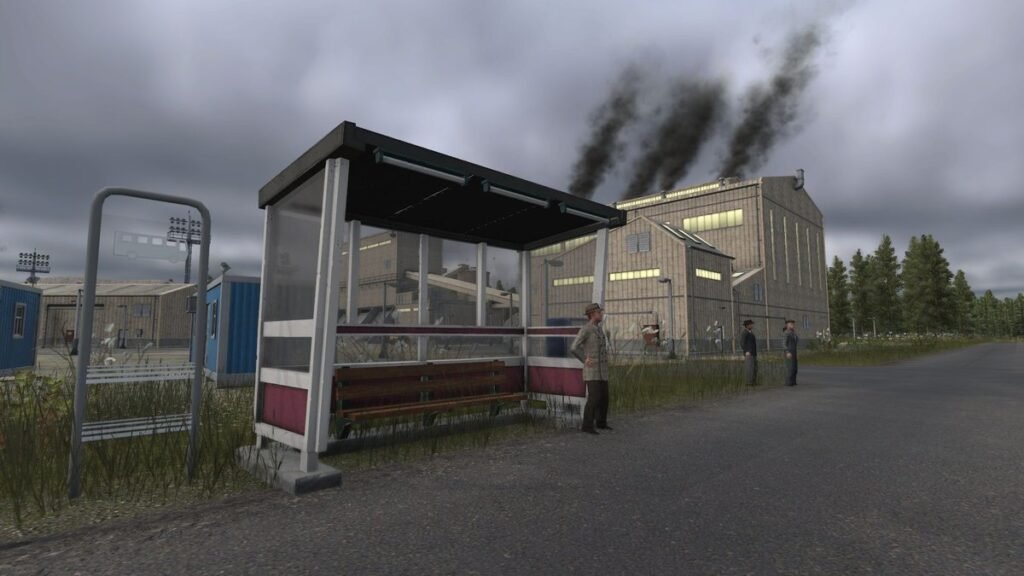
Industries form the backbone of your economy in Transport Fever 3, and strategically assigning workers to them can significantly boost production rates and profitability. While the process involves several interconnected steps, understanding the mechanics—particularly how to connect waterfront facilities—will help you optimize your industrial operations.
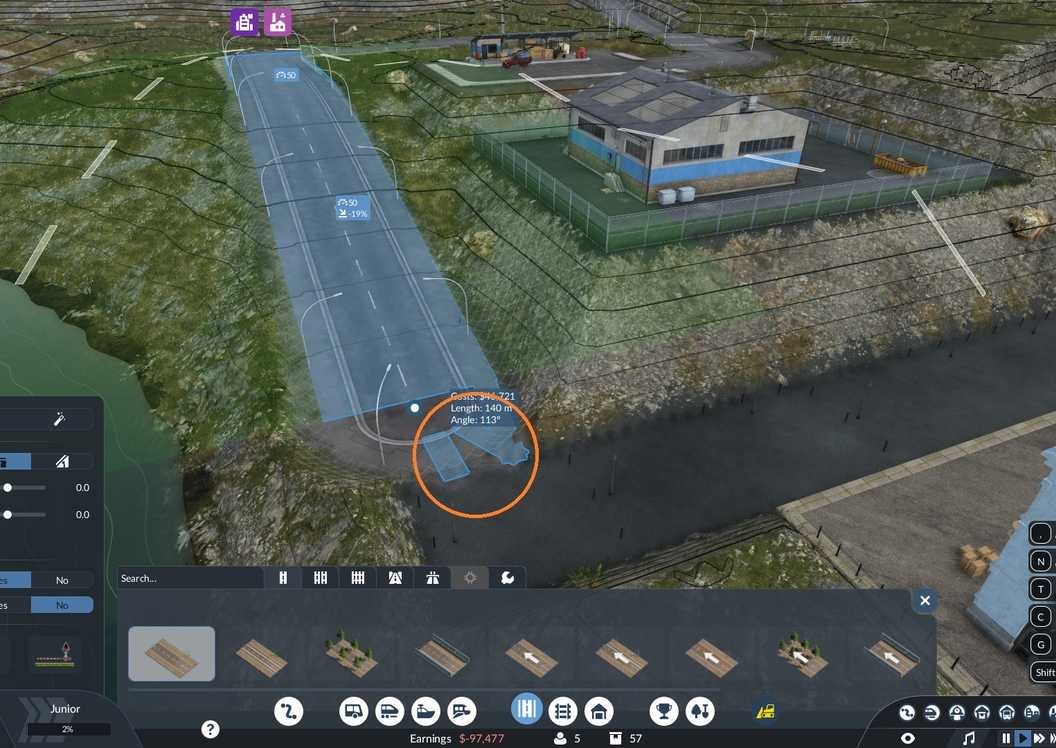
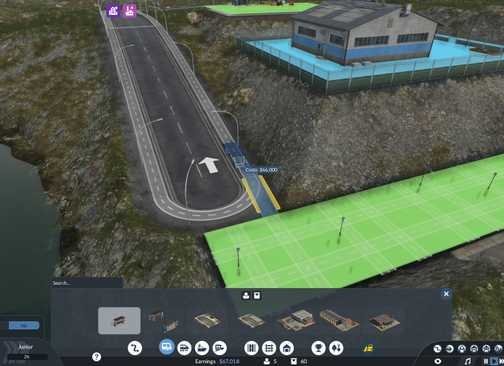
When dealing with industries located on water, such as fishing grounds or oil rigs, the connection process differs from land-based facilities. The key to success lies in recognizing that every port structure includes a pedestrian entrance on its rear side. Rather than connecting directly to a single point, you must position a road close enough to this entrance that the game displays narrow blue lines between the road's terminus and the pedestrian area. These visual indicators confirm that passengers can successfully walk into the port. When you place a bus station at the road's end, these same blue lines will appear, signaling that your connection is valid. If no blue lines appear, passengers cannot access the port, and your transport line will generate no traffic.
Once your bus station connects to the port, establish a second bus station in your city's residential zone—the area highlighted in green on your map. Assign a bus to this route, and the game will gradually generate passengers over several in-game days. If the pedestrian entrance proves too short or unreachable, you can expand it by accessing the port's Configuration menu and selecting the option to build additional pedestrian entrances. Note that you cannot adjust the elevation of these entrances, but you can extend them in available directions.
The next step involves creating a shipping line between the port and your target industry. Select a ship capable of carrying passengers and set up the route with stops at both the port and the industrial facility. By default, the ship will load and unload passengers alongside any available cargo. However, you can optimize this behavior through the lines menu. Click on your ship line and select each stop point, then access the passenger icon to open the Departure Configuration window. Three options are available: "Load If Available" (the default, which allows the ship to depart empty if no passengers are waiting), "Full Load Any" (which requires at least one passenger before departure), and "Full Load All" (which waits until the ship reaches maximum capacity). Choose based on your line's traffic volume—busier routes benefit from "Full Load All," while less congested lines work adequately with "Full Load Any."
An additional setting forces vehicles to fully unload their capacity at the next destination. This option proves valuable for point-to-point routes, preventing partial unloads or cargo returning to its origin. For multi-stop routes, particularly bus lines with numerous stations, disabling this option prevents unnecessary delays. Land-based industries like quarries and airports follow similar connection principles, requiring the same blue-line proximity checks when positioning roads and stations.
While assigning workers boosts production, it is not mandatory for industries to function. Industrial plants including livestock farms, fishing grounds, quarries, oil rigs, sawmills, and cement factories generate output independently. However, as your consumption demands increase, default production may fall short. Two primary methods exist to increase industrial output: assigning workers or delivering tools. Combining both approaches yields maximum production gains. Additionally, subsidies sometimes reward you for delivering workers to industrial plants—an opportunity worth accepting, especially if you already maintain port infrastructure and shipping depots.
Elevation differences between roads and pedestrian entrances can be resolved using the terrain editor, though this incurs a cost. By mastering these connection mechanics and optimization settings, you can build efficient transport networks that keep your industries fully staffed and operating at peak capacity, driving substantial revenue growth throughout your Transport Fever 3 empire.